Congratulations on your purchase of a Yamaha Arranger Keyboard. Whether your keyboard is one of the top-of-the-line keyboards (Genos, Tyros5 or Tyros5-76, Tyros4, Tyros3, Tyros2 or Tyros) or one of the mid-level arranger keyboards (from the latest PSR-SX900/SX700, introduced in 2019,through the PSR-S975/S775 introduced in 2018 to the PSR-2000/1000 introduced in 2001), you are in for many, many hours of pure fun.
 Yamaha GENOS - 2018 Yamaha GENOS - 2018 |
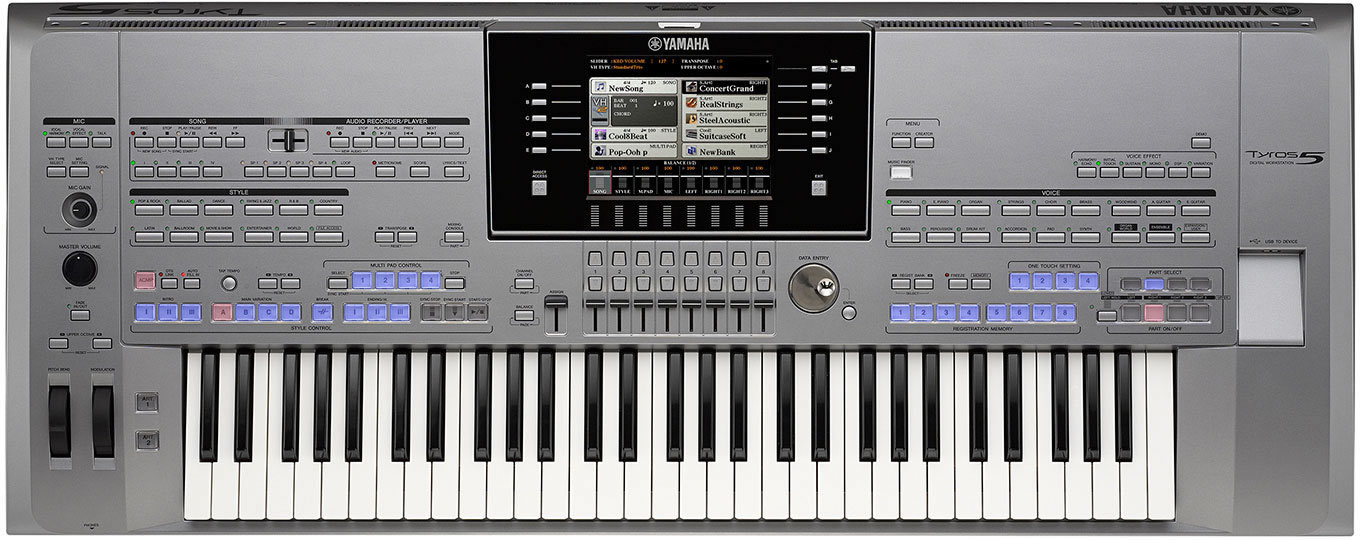 Yamaha Tyros5 - 2013 Yamaha Tyros5 - 2013 |
 Yamaha Tyros4 - 2010 Yamaha Tyros4 - 2010 |
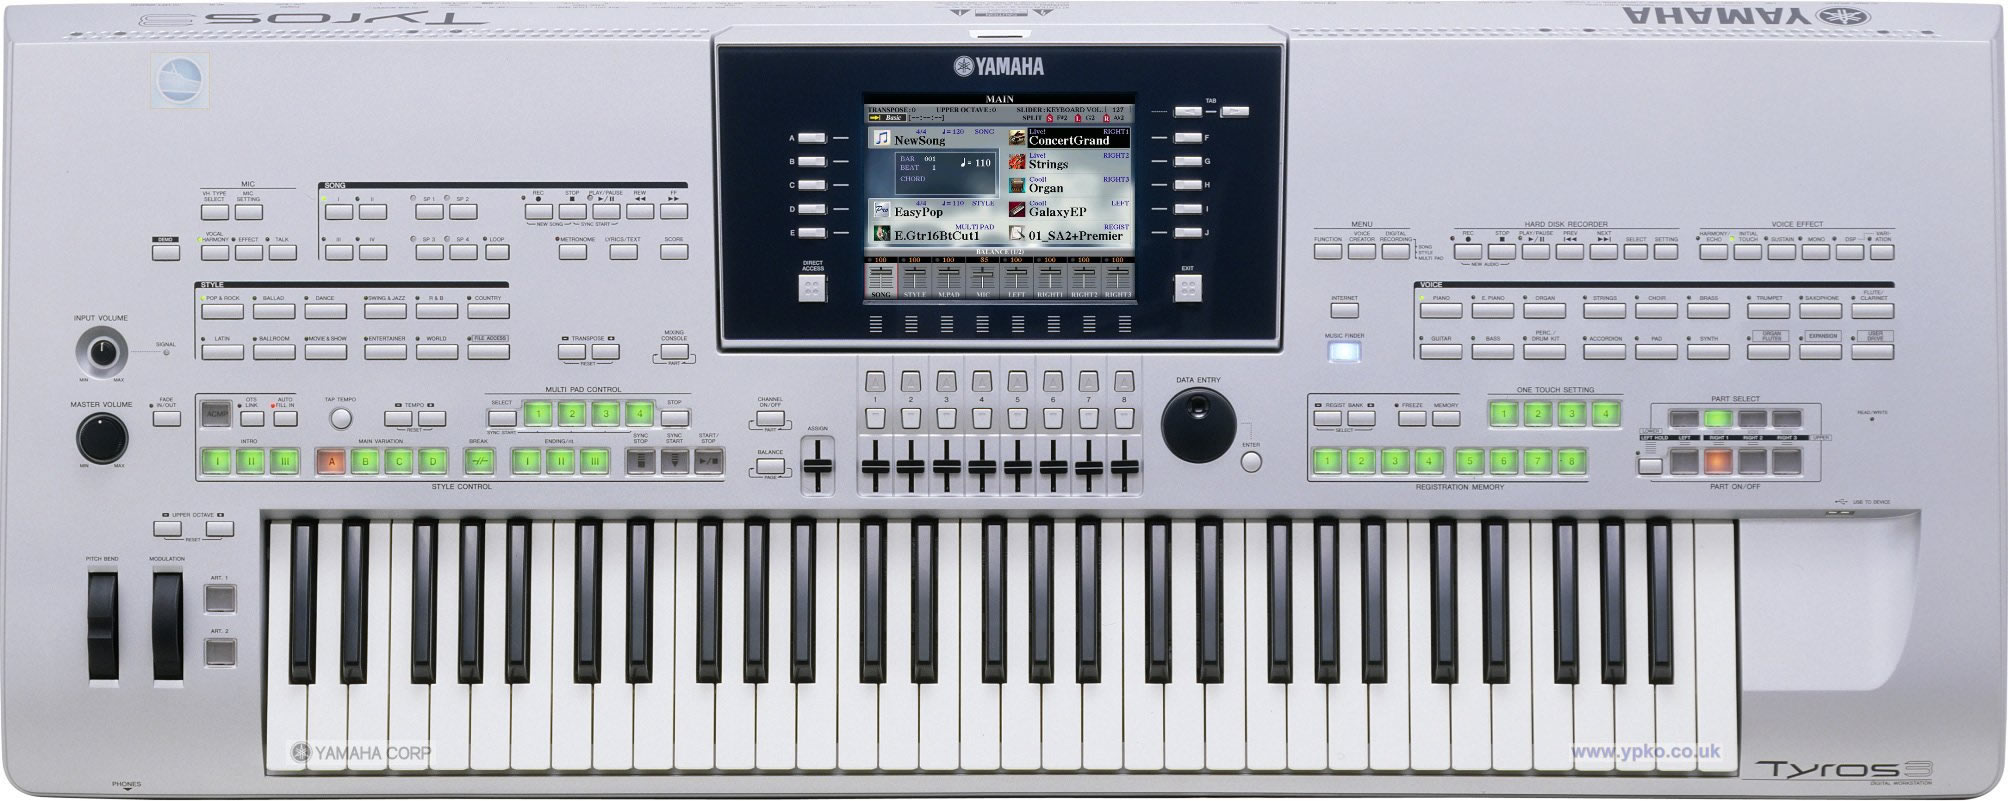 Yamaha Tyros3 - 2008 Yamaha Tyros3 - 2008 |
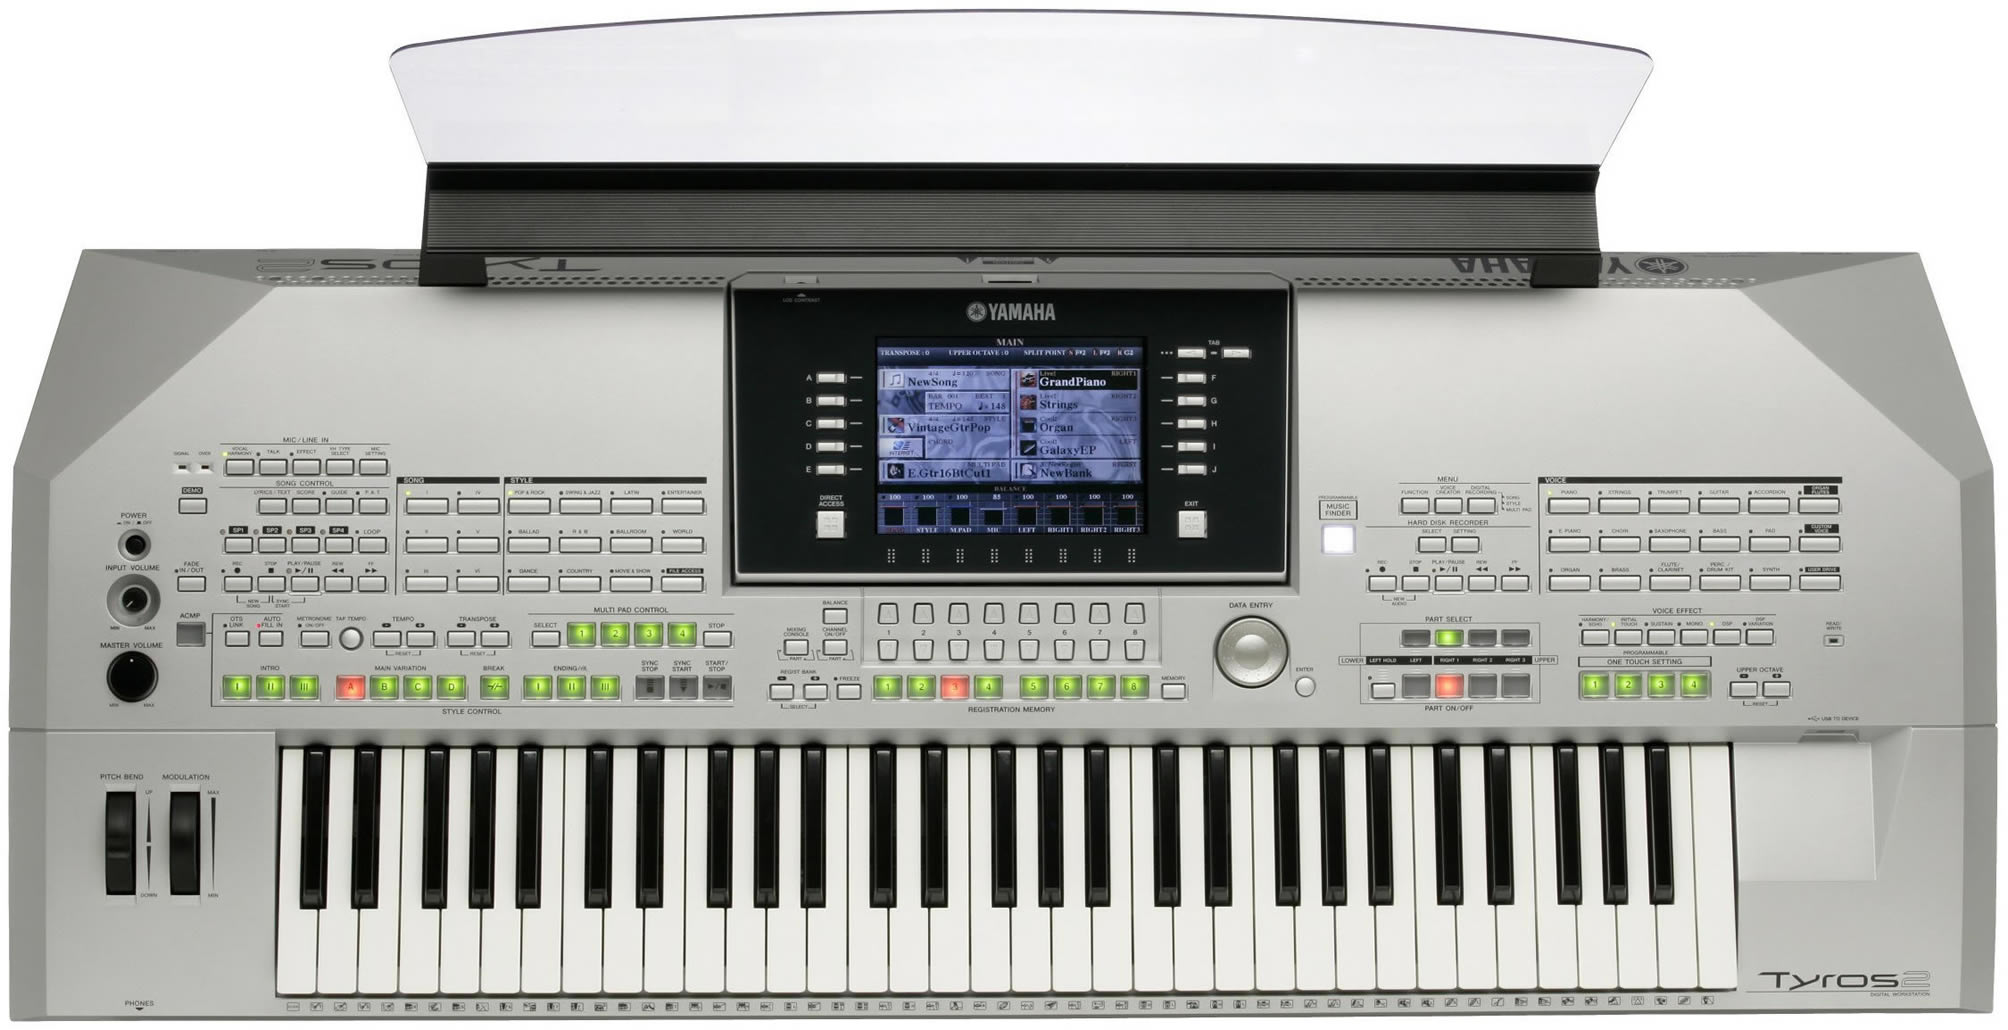 Yamaha Tyros2 - 2005 Yamaha Tyros2 - 2005 |
 Yamaha Tyros - 2002 Yamaha Tyros - 2002 |
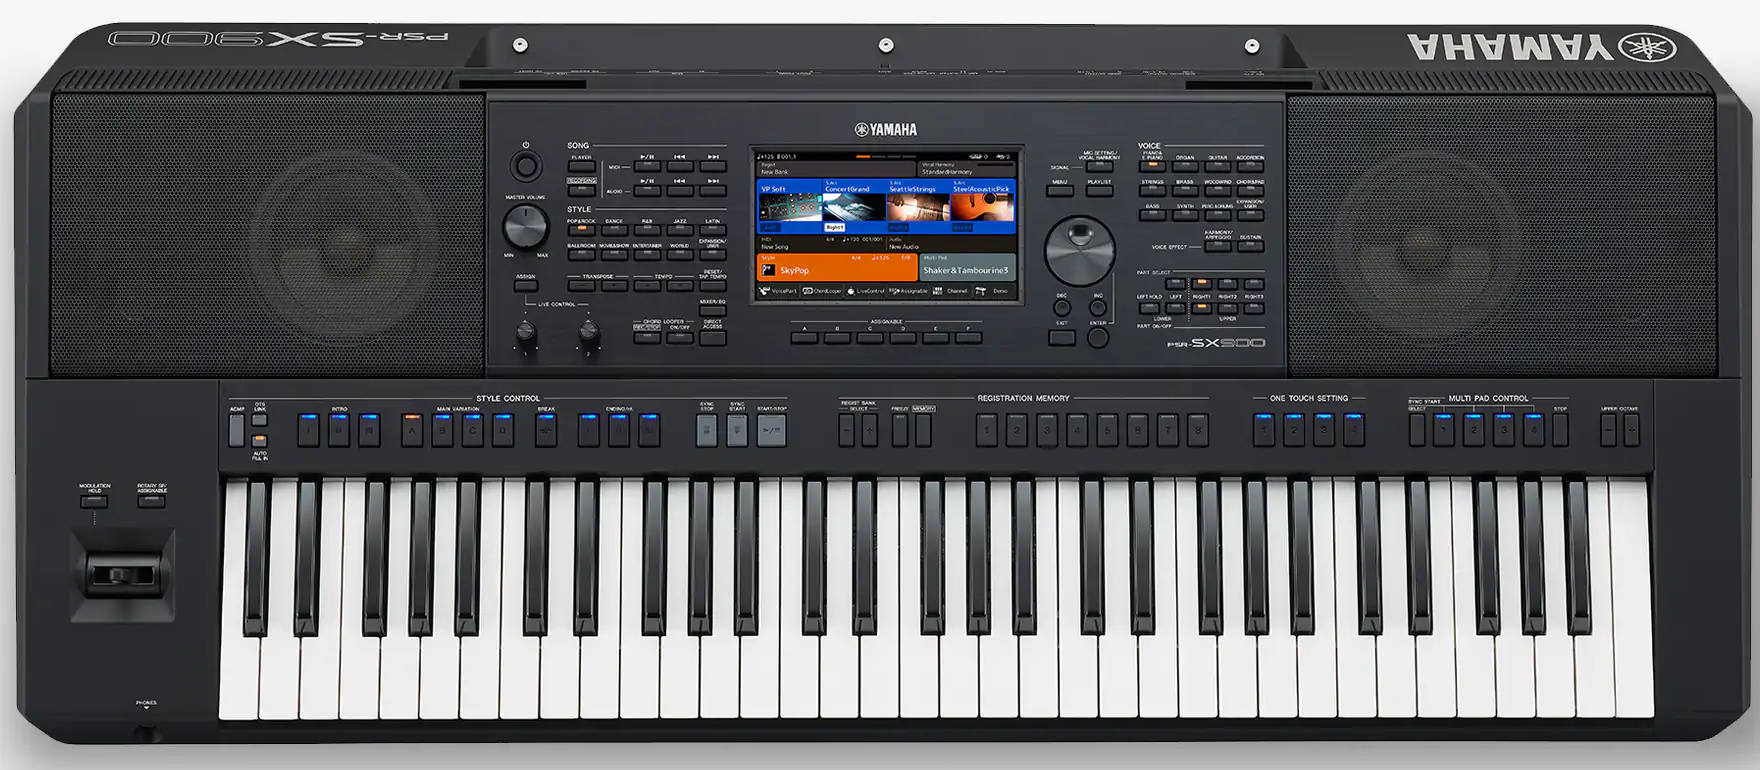 Yamaha PSR-SX900 - 2019 Yamaha PSR-SX900 - 2019 |
 Yamaha PSR-S975 - 2018 Yamaha PSR-S975 - 2018 |
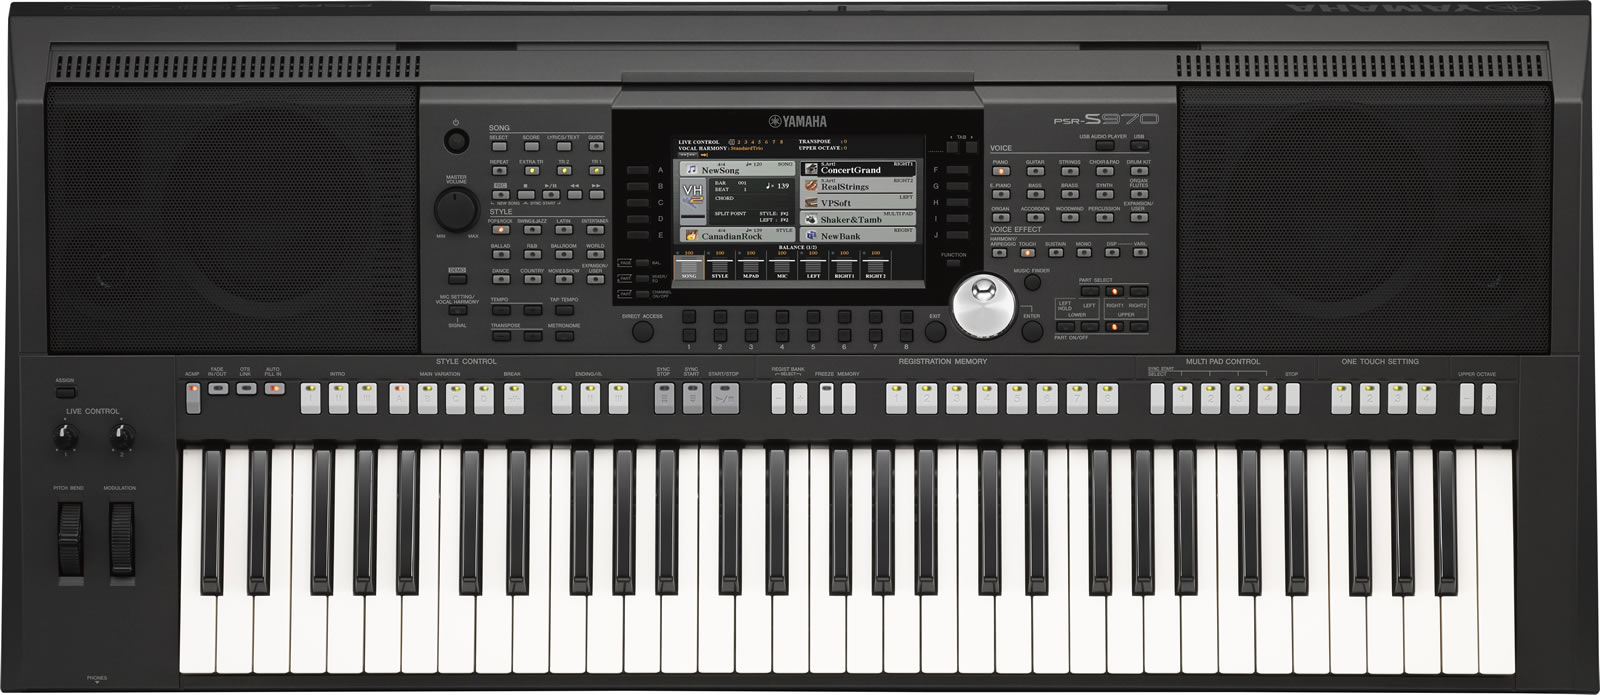 Yamaha PSR-S970 - 2015 Yamaha PSR-S970 - 2015 |
 Yamaha PSR-S950 - 2012 Yamaha PSR-S950 - 2012 |
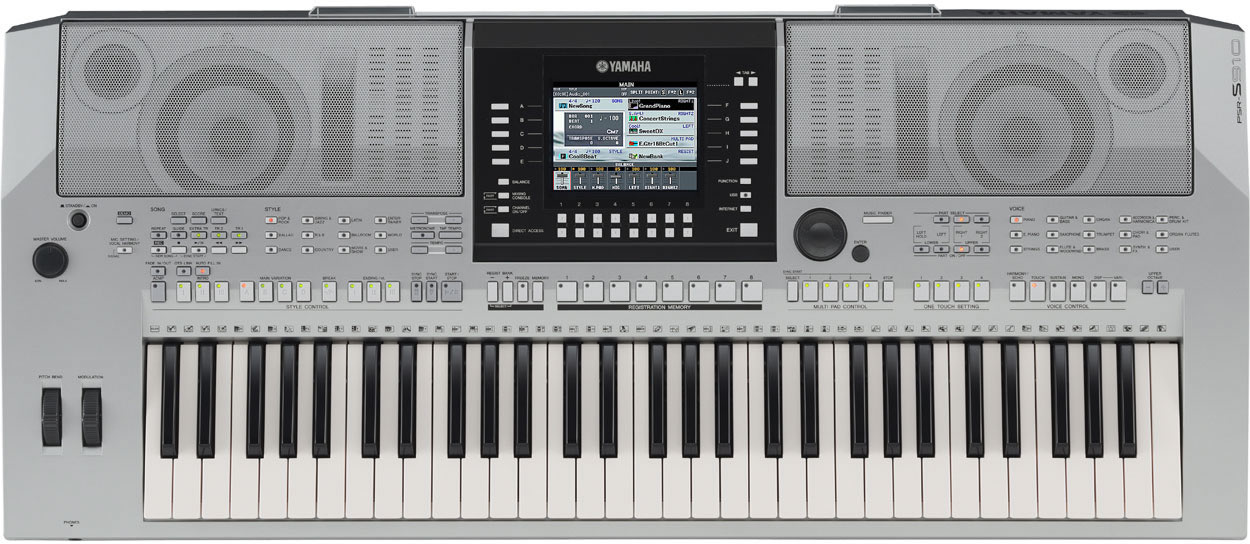 Yamaha PSR-S910 - 2009 Yamaha PSR-S910 - 2009 |
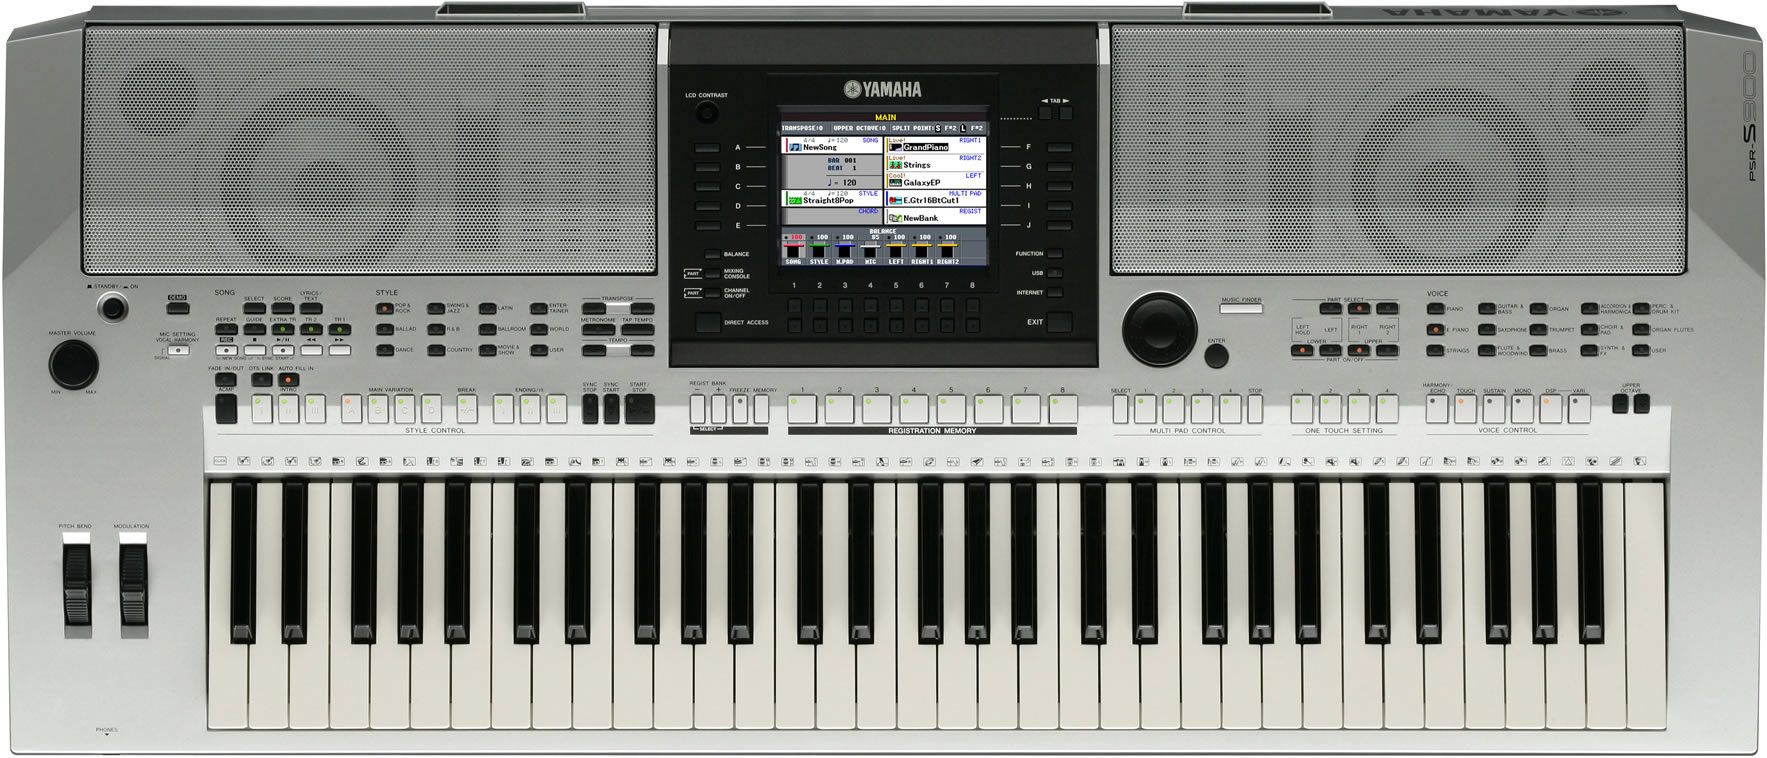 Yamaha PSR-S900 - 2007 Yamaha PSR-S900 - 2007 |
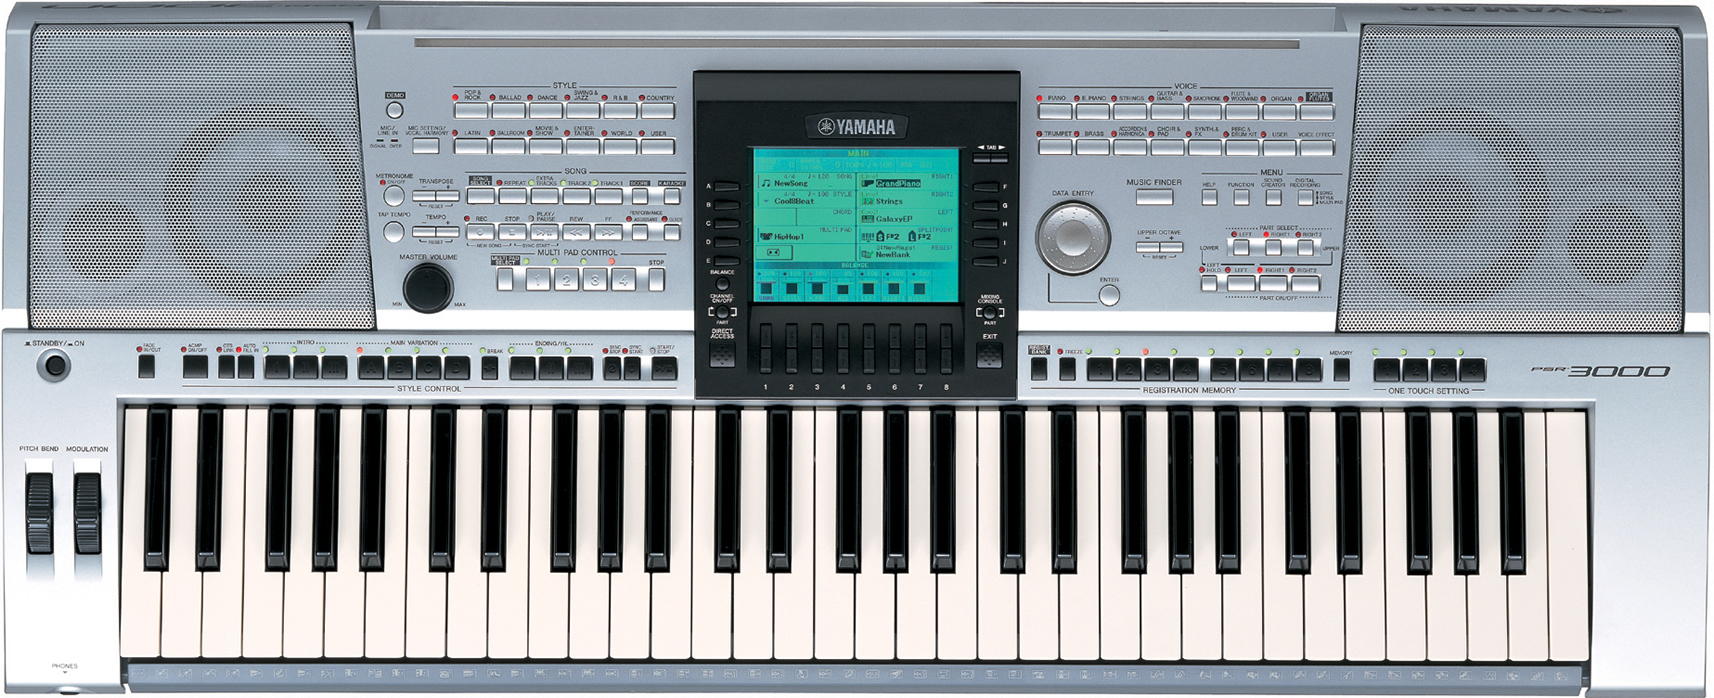 Yamaha PSR-3000 - 2007 Yamaha PSR-3000 - 2007 |
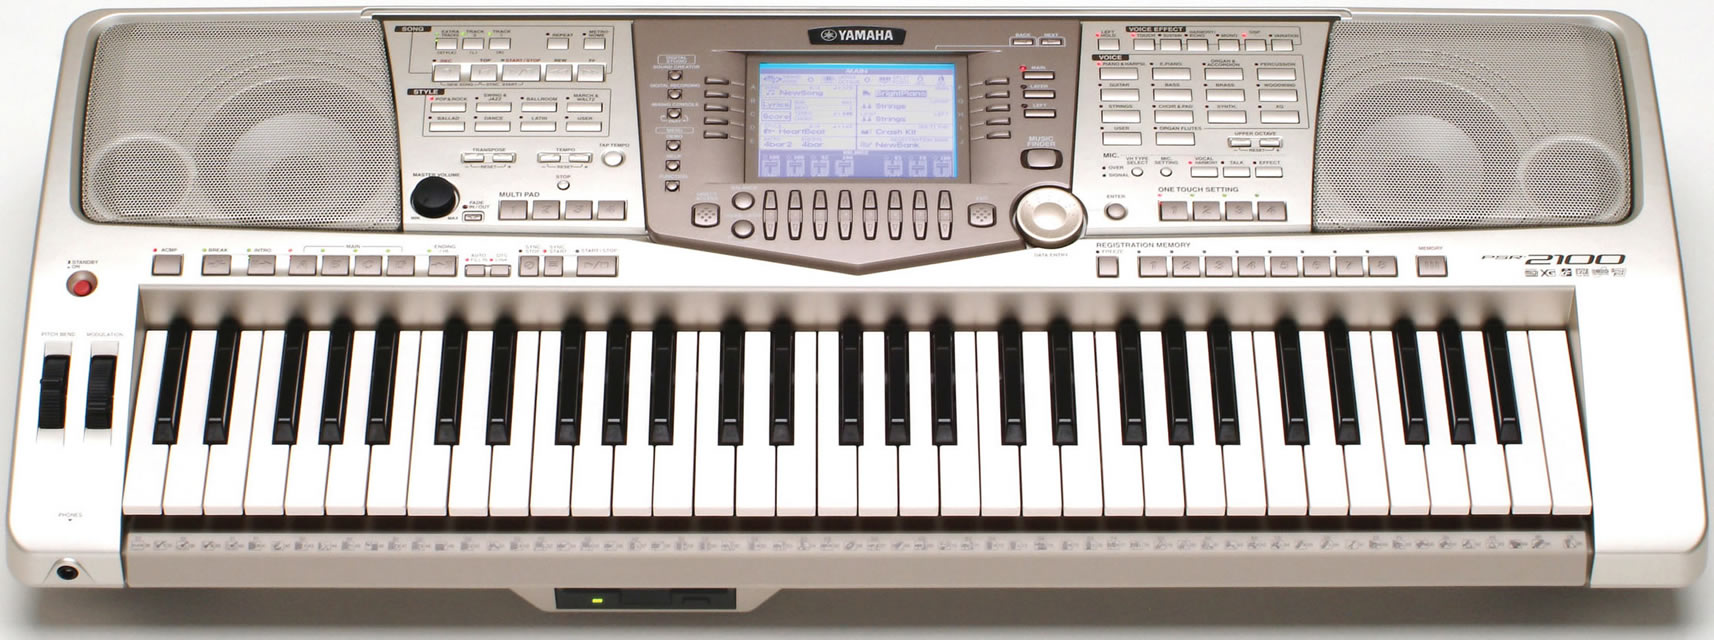 Yamaha PSR-2100 - 2003 Yamaha PSR-2100 - 2003 |
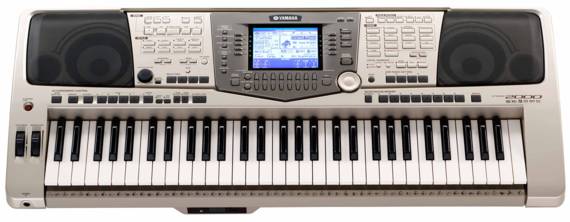 Yamaha PSR-2000 - 2001 Yamaha PSR-2000 - 2001 |
This site is designed to help you understand your new keyboard so you can take advantage of the many features available. Up until the introduction of the Genos, it did not matter which of the many Yamaha arranger keyboard models you have. The keyboards not only look similar, but they also operate in much the same way. In fact, if you own one of the Yamaha CVP pianos, most of the lessons at the PSR Tutorial will apply equally well to your piano.
An exception is the newest high-end arranger model, the Genos as well as the newest mid-range models, the PSR-SX900 and PSR-SX700. These models have many of the features of earlier models, but they employ a new touch-screen interface and thus interact with the user in very different ways. The new models also introduce features that were not available in the previous Tyros or PSR-S models. Where appropriate in these Lessons pages, separate sections will be provided over the next several months for Genos and PSR-SX owners. These sections will highlight the model differences and discuss how features are now accessed with a touch-screen interface.
The more recent models have more bells and whistles and more voices and styles than earlier models. Similarly, the higher-end models have more features than the mid-range models. But they all have functions in common and these work the same way no matter what model you have.
The mid-range models usually less-expensive junior cousins. For example, the PSR-SX/900 was introduced with the PSR-SX/700. Similarly, the PSR-S975 has the junior PSR-S775. The earliest mid-range keyboard in this series, the PSR-2000 was introduced in July of 2001 along with the PSR-1000. The less expensive models have fewer styles and fewer voices and lack some of the features available in the higher-end models.
Whatever Yamaha keyboard you have, I'm sure you are anxious to sit right down and see what this baby can do. There is an enormous amount of information provided throughout the hundreds of pages in this web site. This information will help you understand the many functions of your keyboard. You do not, however, have to learn everything right away. You have many months, even years, to explore and learn about what your keyboard can do. Right now, however, the goal of this "Start Here" section is to get you up and running as quickly as possible.
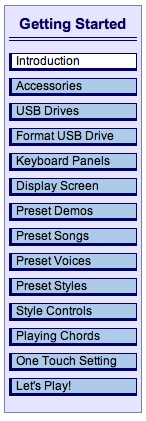
Lessons in "Getting Started"
The first thing we do is take a brief look at some of the accessories you may need to go along with your keyboard. You may already have purchased everything you need. If not, you may want to do some more shopping.
USB drives have become an essential part of all the latest keyboards. Check out the lessons on USB drives if these little "thumb" drives are new to you.
Next, we look at the keyboard panels so you understand the overall layout of the keyboard, where things are and what the various buttons do.
The central display screen shows you how your keyboard is currently configured and allows you to change and control that setup using the buttons to the left and right of that screen as well as those under the screen.
Finally, we turn the keyboard on and look at what it takes to start playing your first song! Of course, the easiest thing to do is to hit that "DEMO" button on the console and then sit back and listen to what your new keyboard can do. Your keyboard also includes some sample midi songs that you can listen to and, of course, hundreds of voices, each with its own little demo.
The key characteristic of an "arranger" workstation is the "styles" that you can use to accompany your playing. We show you how to select from the various styles and how styles work. At that point you may be ready to start playing your own songs.
A Note on Site Navigation
If you are new to the keyboard, you may also be new to the PSR Tutorial web site. There are eight major areas in this web site in addition to the initial Home page. You see these in a top-level menu that is shown at the top of each page on the site. You are now in the Lessons section of the PSR Tutorial. You can tell that because the "Lessons" link is highlighted. At any time, you can click on any of the links at the top of the page to go directly to that section of the web site.
Within the "Lessons" section there are five subsections, which are shown on a 2nd-level menu bar at the top of the page. You are now in the "Start Here" subsection. Again, you can tell where you are because the sub-section tab is highlighted.
 Each
subsection may include a number of lesson "pages" for the various
topics within the subsection. These are shown in a third-level navigational
menu on the left side of the page. For example, there are 14 lesson pages
in the "Getting Started" section (abbreviated by the "Start Here" tab).
Each
subsection may include a number of lesson "pages" for the various
topics within the subsection. These are shown in a third-level navigational
menu on the left side of the page. For example, there are 14 lesson pages
in the "Getting Started" section (abbreviated by the "Start Here" tab).
You are currently reading the "Introduction" page, which is highlighted in the navigational menu on the left. This menu is repeated on all the pages of this subsection with your current page highlighted in the menu. The lesson pages are usually meant to be followed one after the other. However, you can click on any of the links in the left-side navigational bar to go directly to any of the lesson pages shown there.
At the top and bottom of each page in the Lessons section is a ![]() button
that will take you to the next lesson in the current subsection as well
as a
button
that will take you to the next lesson in the current subsection as well
as a ![]() button that takes you back to the previous lesson.
button that takes you back to the previous lesson.
At the very bottom of each page are links similar to the top-level links at the top of each page. These take you directly to any of the eight major sections in the site or back to the Home page.
On some pages, such as on the next lesson on "Accessories," there may be links to products that are mentioned in the lesson text. These are only meant to help you get started on an internet search and may not represent the best price or the best product for you.
This page updated on September 30, 2023 .